Photography can be divided into many different categories. In the first part this post I would like to discuss a couple of portrait photography setups I did using studio strobes as they offer great utility and flexibility to achieve the desired result! Often times, all you need is a single lighting source Note that there are quite a few other photography categories you can shoot in studio, such as fashion, beauty, boudoir, to name a few.
First things first! As professional photographers, we always are required to follow and respect certain rules and meet professional expectations. This becomes even more important when working with models. Making the model feel at ease by respecting the space, interacting with in a professional manner, using complimentary words, can highly improve your chances of achieving the look you are aiming for.
Before you do anything else, you will want to setup your camera to have complete control of the exposure triangle. Here is more on how I setup my camera.

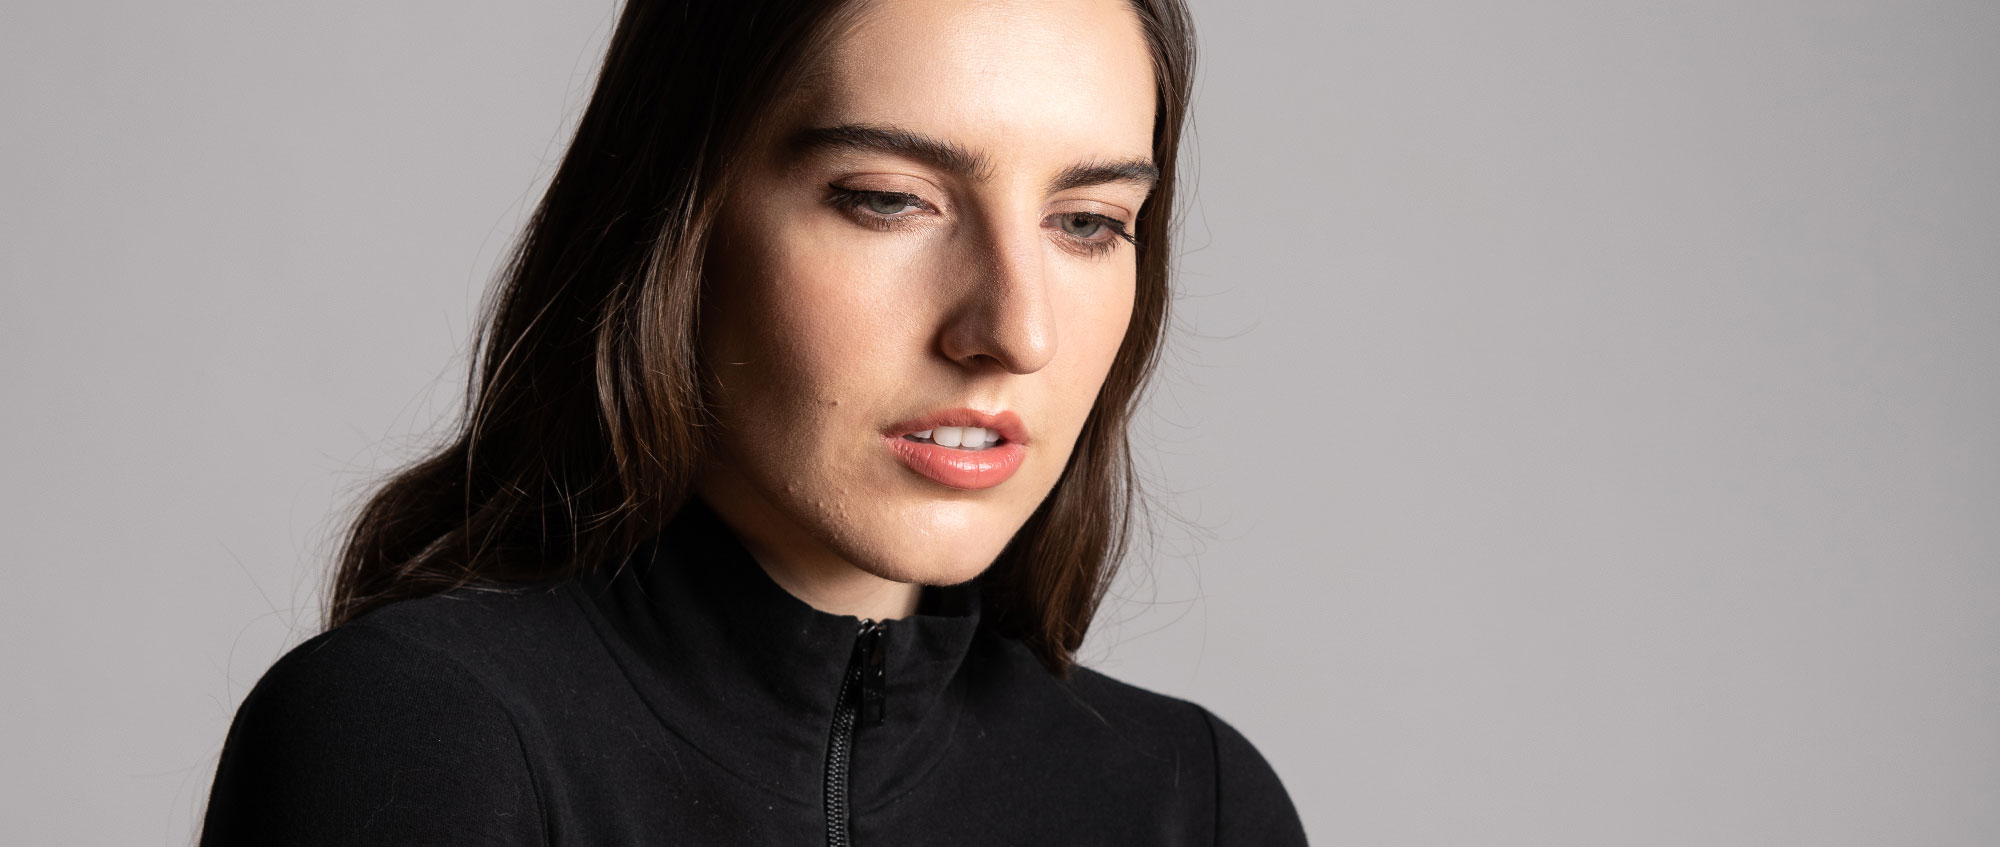
Simple Portrait
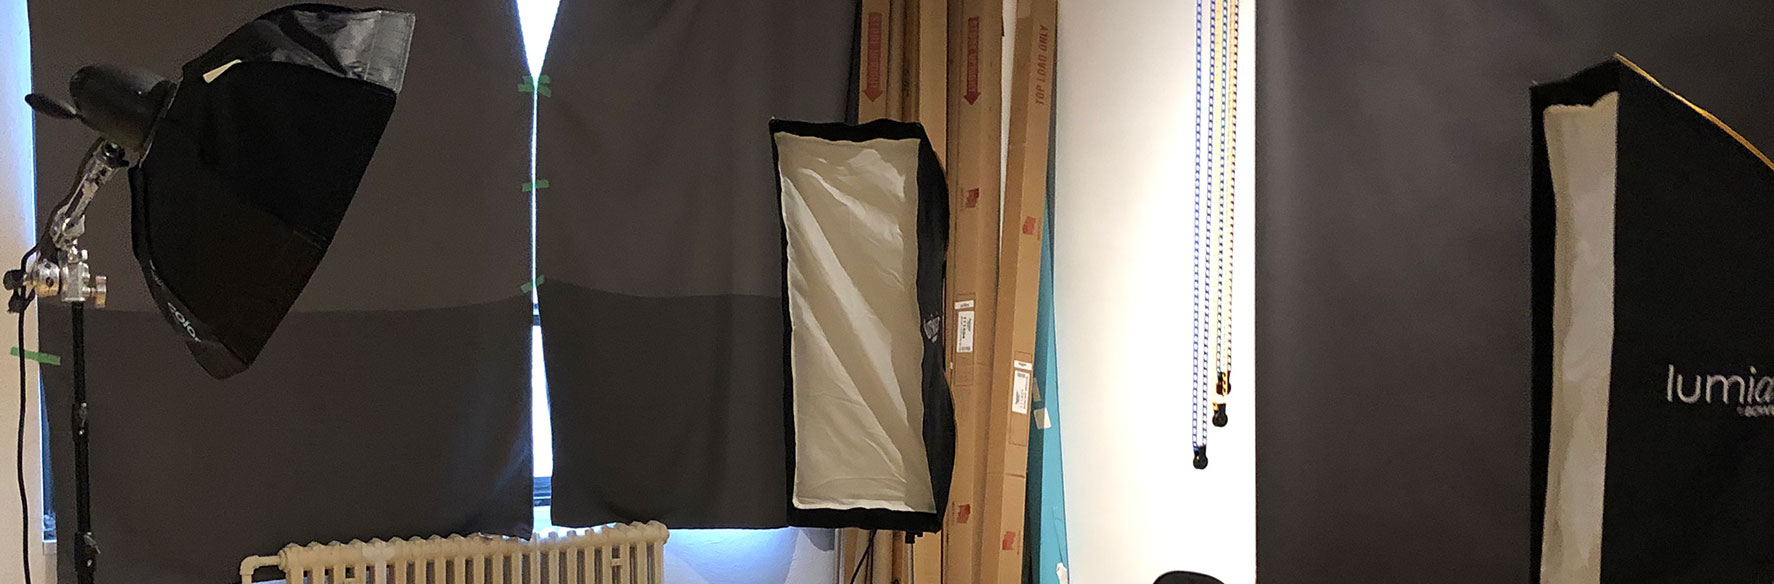
To achieve the look in this image I used a simple portrait lighting setup, which was a single umbrella I setup at approximately 45 degrees angle. The umbrella was positioned camera-left but you could position it camera-right, depending on the final look you want to achieve. I positioned the light in a downward angle as I aimed for the shadows to fall slightly downwards. You could use a reflector or an additional light to fill the shadows in the right side of the face. If you end up using a reflector, remember that the end result will be different based on the reflector you choose (white or silver). In this particular shot I did not use one.
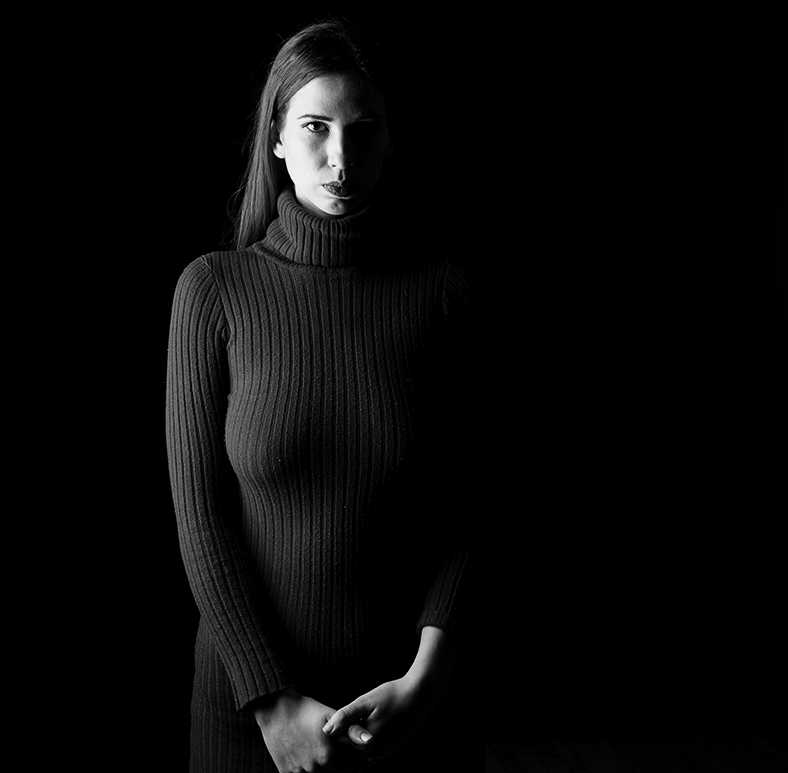
Dramatic Portrait
In this shot I wanted to have more control over the lighting to achieve the dramatic look. So I chose to work with a specific modifier which was a simple strip box, positioned about 2 feet away from the model. The strip box directs the light forward, forming a perfect straight line across the middle of the face. It is very important here that the model has a clear skin, because setting up the light in such extreme angle tends to show off any skin imperfections, therefore causing additional retouching work in post-edit. If you are doing professional work, make sure you collaborate with a makeup artist. It will save you a lot of post-edit work and headache.
I chose a dark background here because I wanted to achieve complete darkness in the background. However, you don’t necessarily have to choose a dark background. It depends how far from the background you setup your subject and lighting, which will dictate the brightness and colour of the background. If your subject is distant enough from the background, even a white background will turn dark.
There are quite a few different lighting setups and strobes photographers use as well as a wide choice of modifiers and reflectors, however it is only up to photographer’s creativity and ability to be able to achieve the looks that tells a story.
I welcome your comments and discussion about this topic.